Upgrade database from Redis Cloud Essentials to Redis Cloud Pro
Upgrade your Redis Cloud Essentials subscription to a Redis Cloud Pro subscription.
| Redis Cloud |
|---|
Redis Cloud Essentials supports low throughput workflows. It supports a range of availability, persistence, and backup options, and can be great for testing and prototyping. However, if your databases need higher throughput, or you're missing features that are not available with Redis Cloud Essentials, you may want to upgrade Redis Cloud Essentials to Redis Cloud Pro.
For more information about the different subscription plans, see Subscription plans.
To upgrade your Essentials plan to another essential plan, see Upgrade subscription plan.
Upgrade Essentials subscription to Pro
To follow the steps in this guide, you must have a database with Redis Cloud Essentials that you want to upgrade to Redis Cloud Pro.
To upgrade your Essentials database to Redis Cloud Pro:
-
Create a new database in Redis Cloud Pro with the right specifications to be able to migrate your database.
-
Migrate the data in your Essentials database to your new Redis Cloud Pro database, if needed.
-
Redirect the endpoints to your new Redis Cloud Pro database.
Create Redis Cloud Pro database
Create a new database with the following specifications:
- Select Redis Cloud Pro for your subscription type.
- In the Sizing tab, create your databases with the following specifications:
- Set the memory limit to comply with Active-Passive memory requirements if you want to migrate your database using Active-Passive.
- In More options, set the Port to Manually assign, and enter the port of your Essentials database. You must set the port number to match the port of your Essentials database if you want to migrate your database endpoints. You can find the port in the endpoint of your database on the Configuration tab of your database.
Migrate data
You can migrate your Redis Cloud Essentials database to your new Redis Cloud Pro subscription using any method in the Migrate databases guide. This guide uses Active-Passive to migrate databases between subscriptions in the same account.
Before you follow this guide, be aware of the following limitations:
-
This guide is for migrating databases between subscriptions in the same Redis Cloud console account. Contact support if you want to migrate a database between accounts using Active-Passive.
-
As long as Active-Passive is enabled, data in the target database will not expire and will not be evicted regardless of the set data eviction policy. We recommend that you turn off Active-Passive after the databases are synced.
-
Select the database you want to migrate your data to. This will be your target database.
-
From the Configuration tab of the target database, select Edit.

-
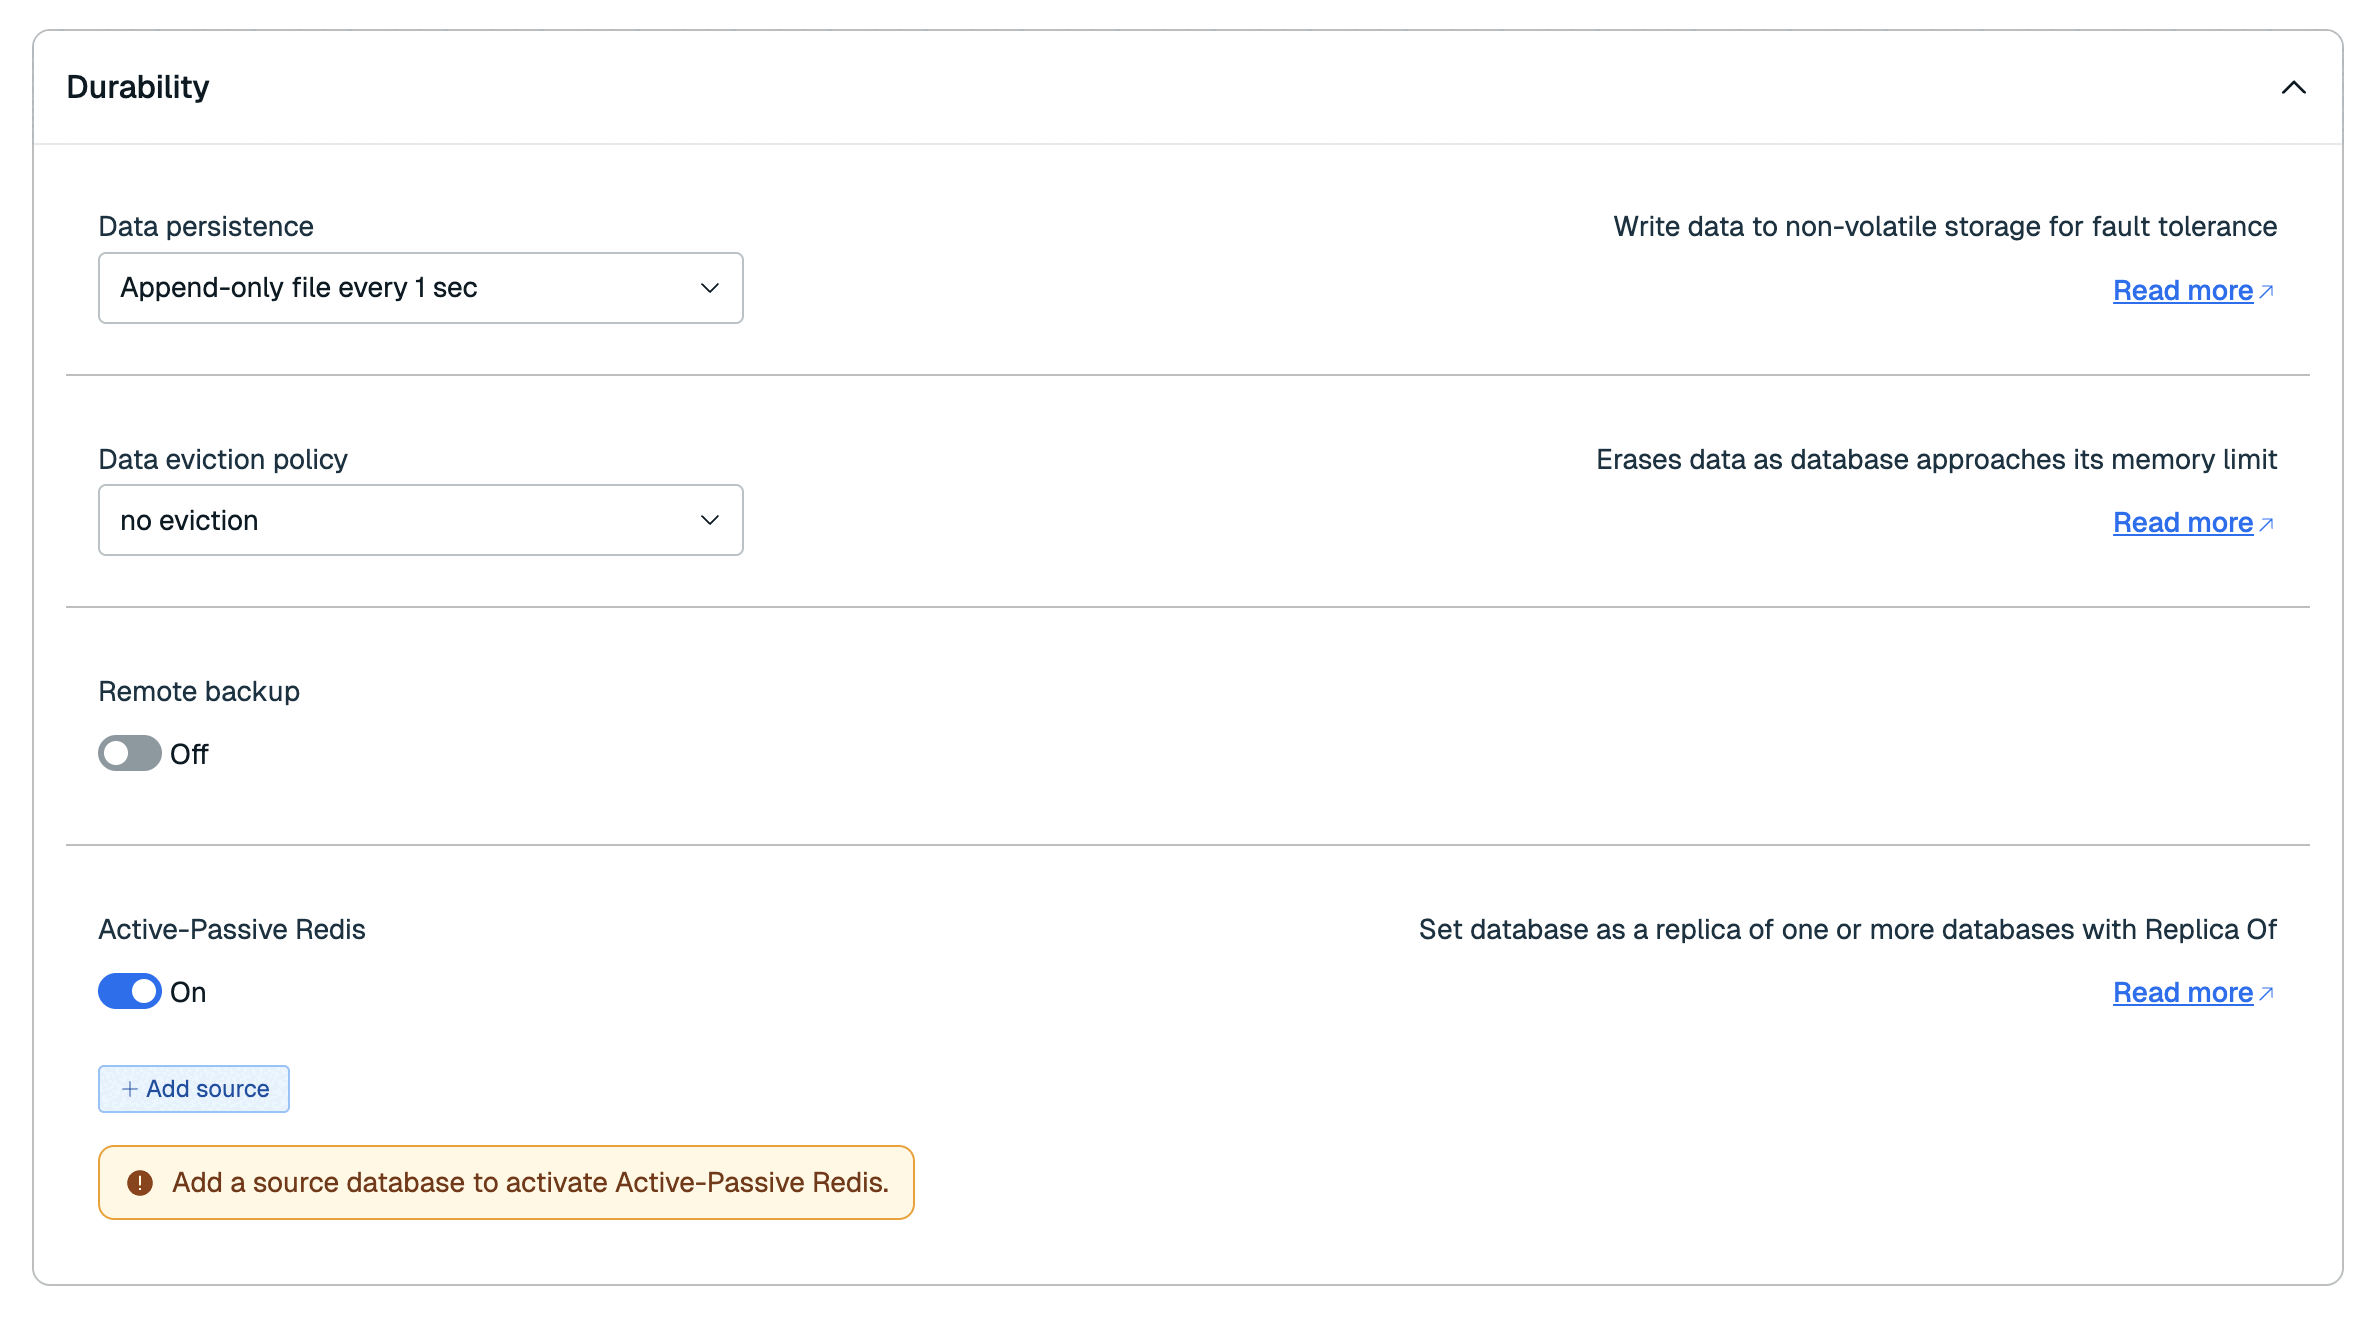
In the Durability section, enable Active-Passive Redis and then select Add Source.

-
This will open the Add Active-Passive Redis screen. Select Current account to connect a database in your current account.

-
Select your Redis Cloud Essentials database from the Source database list. This will be your source database. You can type in the database's name to find it.

-
Select Save Database to begin updating the database.

Initially, the database status is Pending, which means the update task is still running.

The sync process doesn't begin until the database becomes
Active.
When data has fully migrated to the target database, database status reports
Synced.
Active-Passive sync lets you migrate data while apps and other connections are using the source database. Once the data is migrated, you should migrate active connections to the target database and turn off Active-Passive before you move on.
Redirect database endpoints
Redirecting your database endpoints after migrating your data lets you direct connections to your new database without any code changes.
See Redirect dynamic endpoints for more information on the limitations and requirements for endpoint redirection.
To redirect your database endpoints:
-
From the Redis Cloud console, select Databases from the menu and select the source database in the list.
-
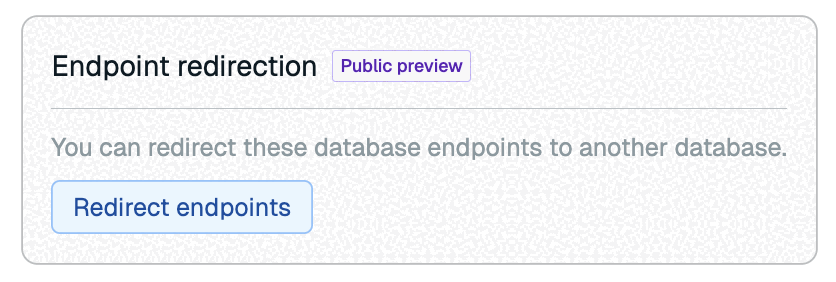
In the General section of the Configuration tab, select Redirect endpoints.
-
Select the target Redis Cloud Pro database from the Target database list. You can type in the database's name to find it.
You can choose whether to map the original endpoint to the Public or the Private endpoint.
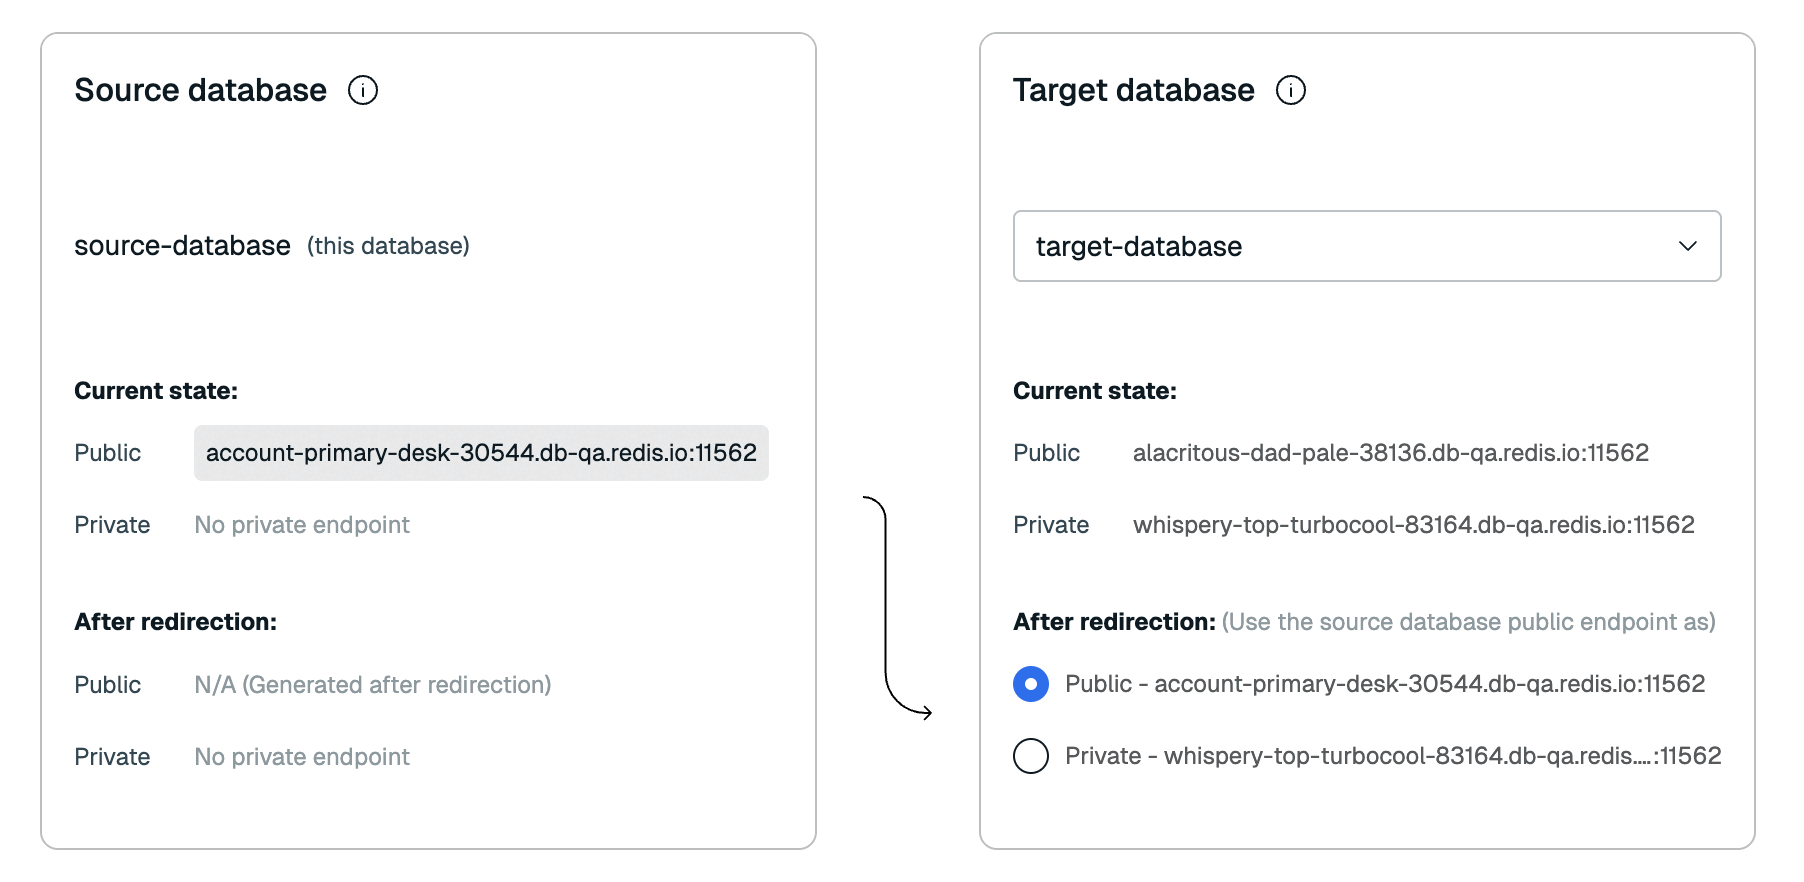
You must have a private connectivity method set up to be able to select the Private endpoint, such as:
- VPC peering
- Google Cloud Private Service Connect (Google Cloud only)
- AWS Transit Gateway or AWS PrivateLink (AWS only)
-
If you want to assign the same Role-based Access Control (RBAC) roles to the target database that are assigned to the source database, select Assign the same ACLs to the target database.

-
Select I acknowledge this action will redirect my database endpoints to confirm that you understand that this action will redirect your database endpoints. Then select Redirect endpoints.

After you redirect your database endpoints, you can go to the Configuration tab of the target database to verify that the endpoints now point to the target database.
You can revert endpoint migration within 24 hours to restore the original endpoints. Select Revert to revert endpoint migration.

After the 24-hour window, you can no longer revert to the endpoint to the original database.
Delete Essentials database
After you migrate your data and redirect your endpoints, delete the source database.